Landing Pages & Groups
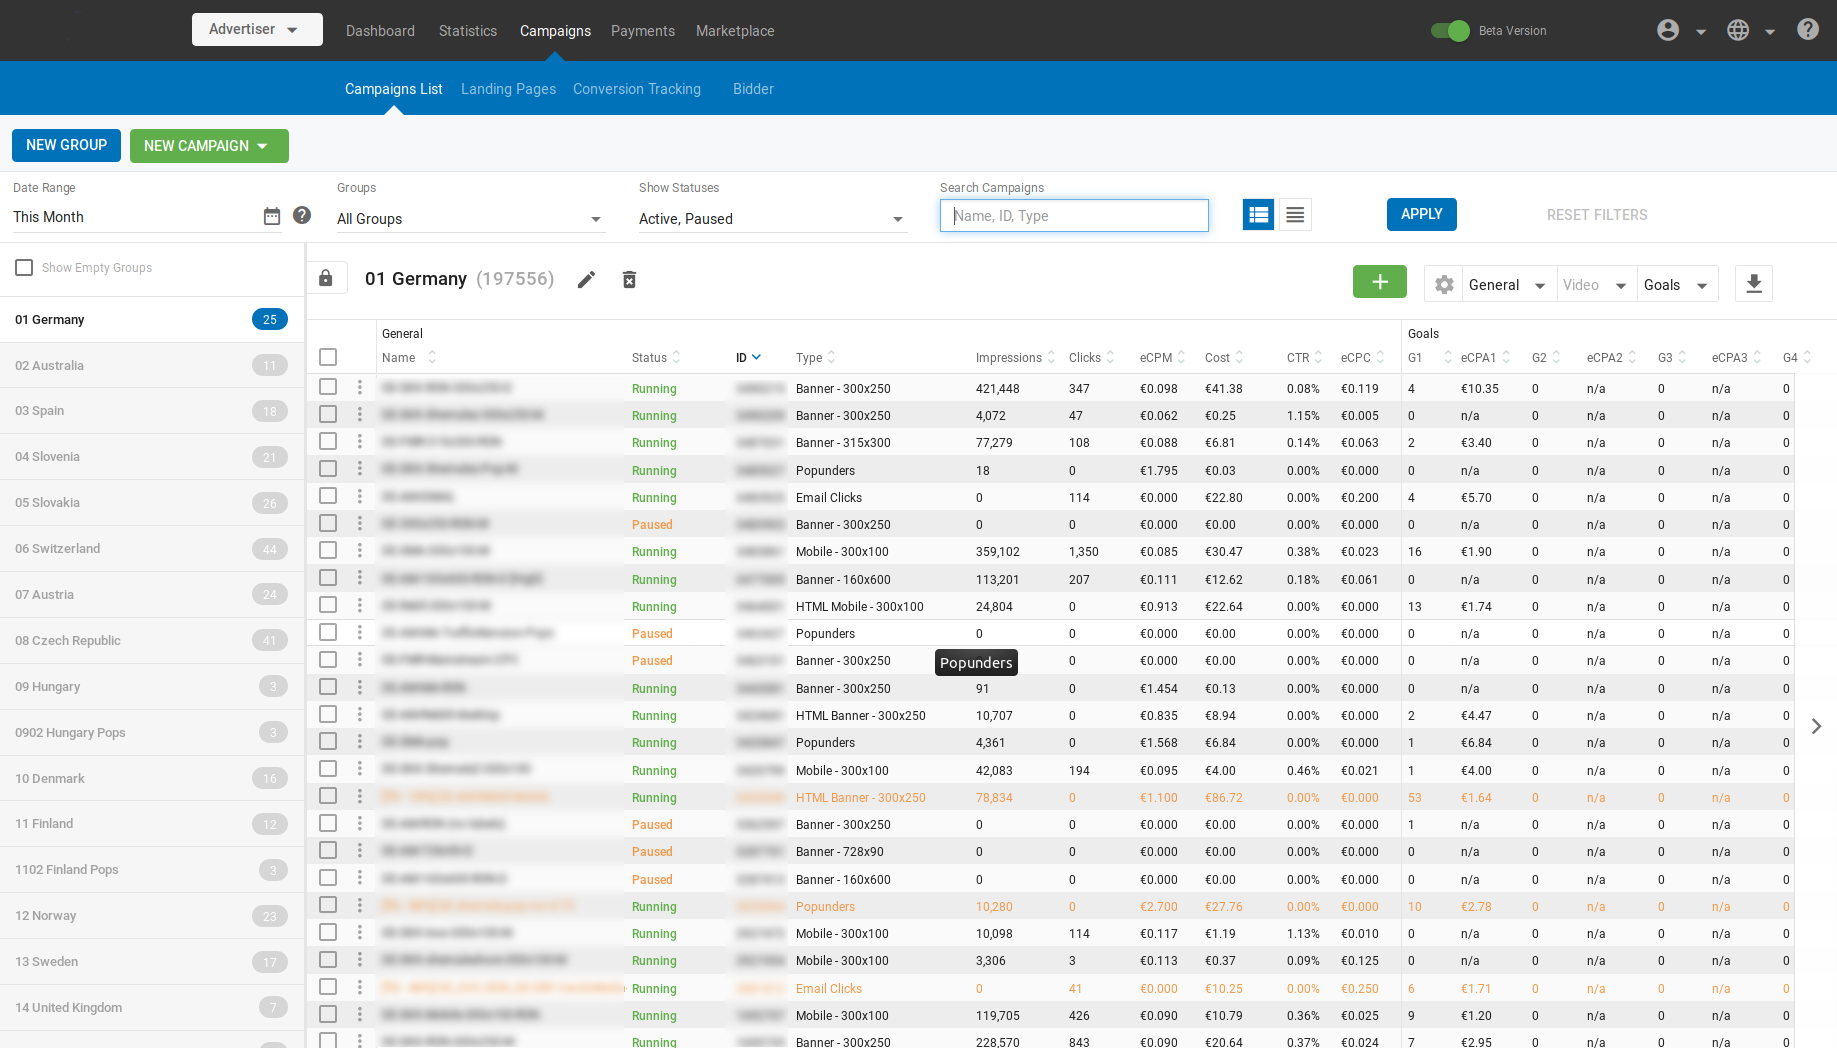
In order to get the best performance out of your campaigns, a great strategy is to have several landing pages or pre-landers for the same offer that is being promoted. You do this by using the Landing Pages tab in the Campaigns tab. Here you can manage all these different URLs so that you can easily add them to campaigns and track their results.
Creating a Landing Page Group
To create a landing page group, click on the Landing Pages tab and select New Group. Fill in a Name for the group, and then specify the Distribution Algorithm that will be used in the campaign. This algorithm will determine how much exposure each URL will receive in comparison to the others.
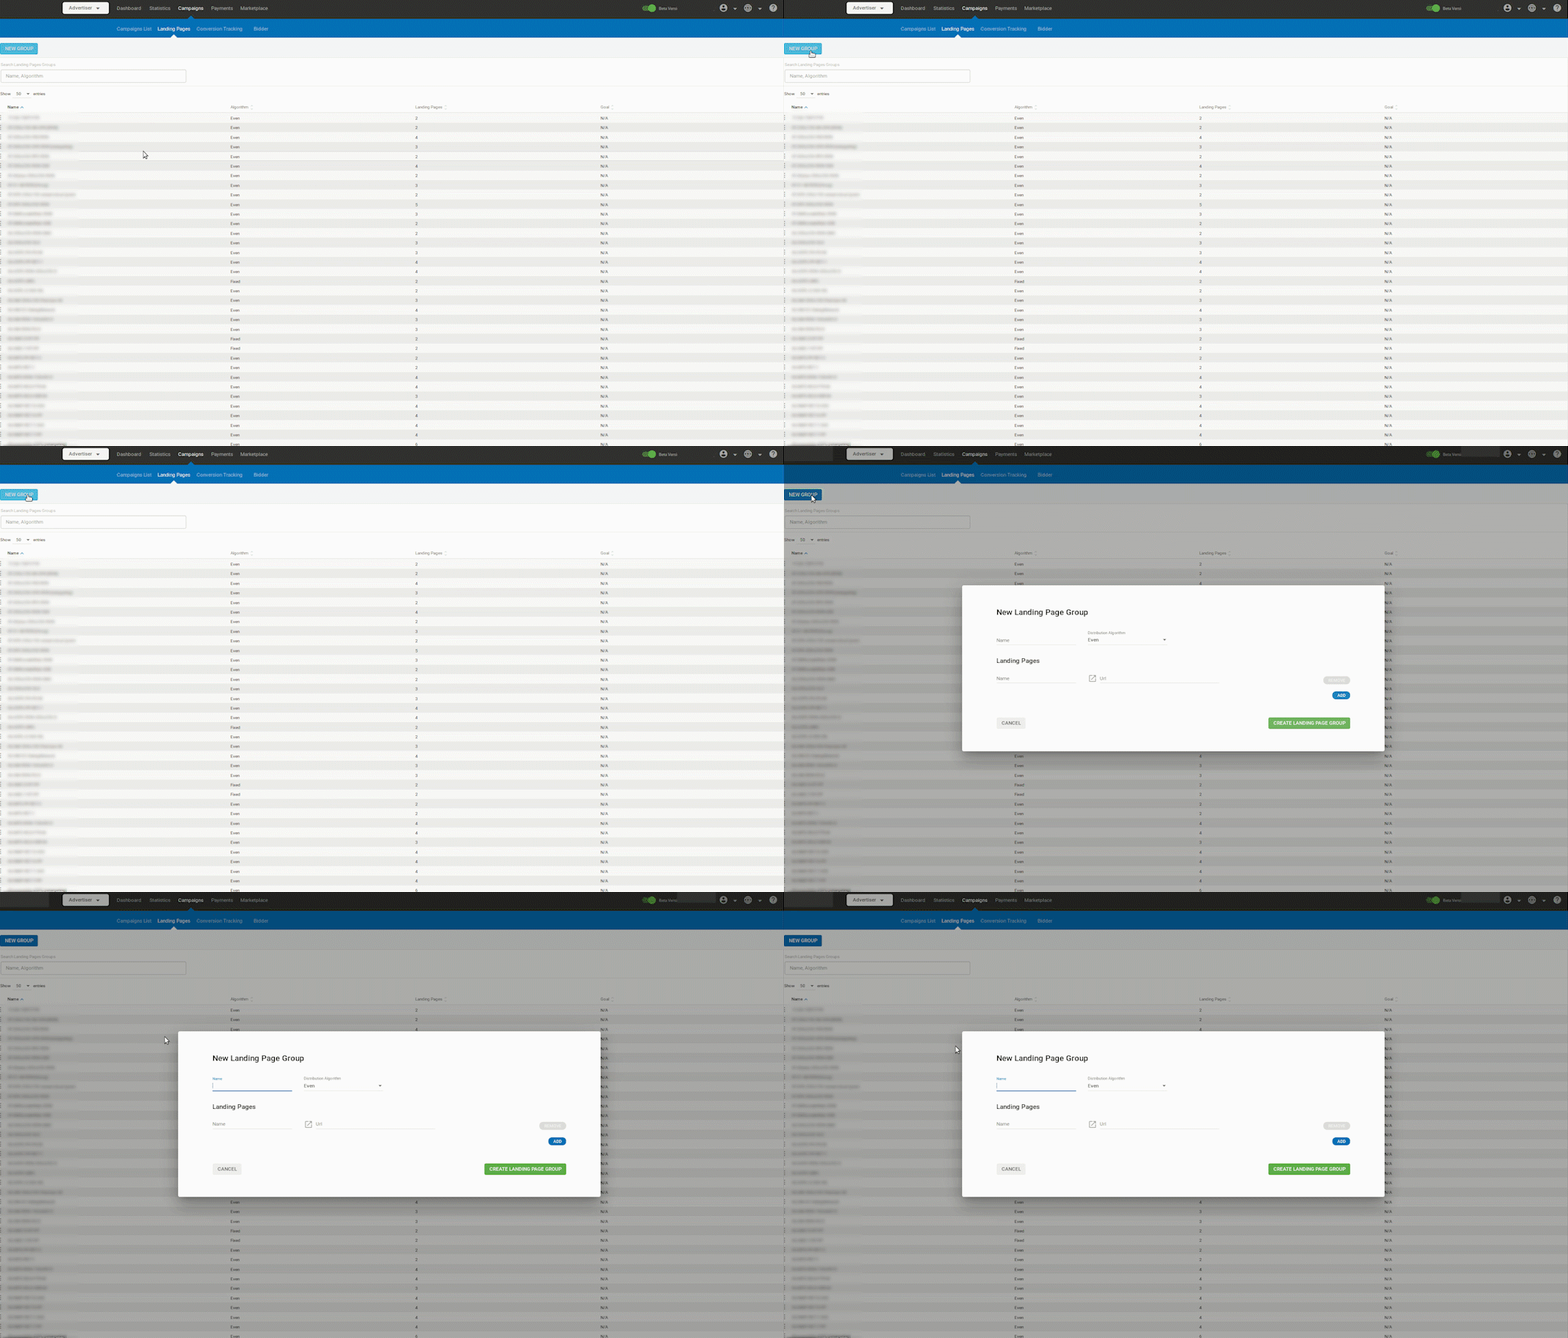
There are 3 different algorithms:
- Even Distribution: Traffic will spread evenly between the different landing pages. For example, if you have two landing pages, the traffic will split by half for each. If there are 3, each will receive 33% of the traffic.
- Fixed Share: Using fixed share you can define the exact percentage of traffic each landing page should receive.
- Automatic Optimization: The system will assign a bigger share of traffic based on its results. To use this option, you should have created a "Goal" first, which will be factored in when determining which landing page has the best results.
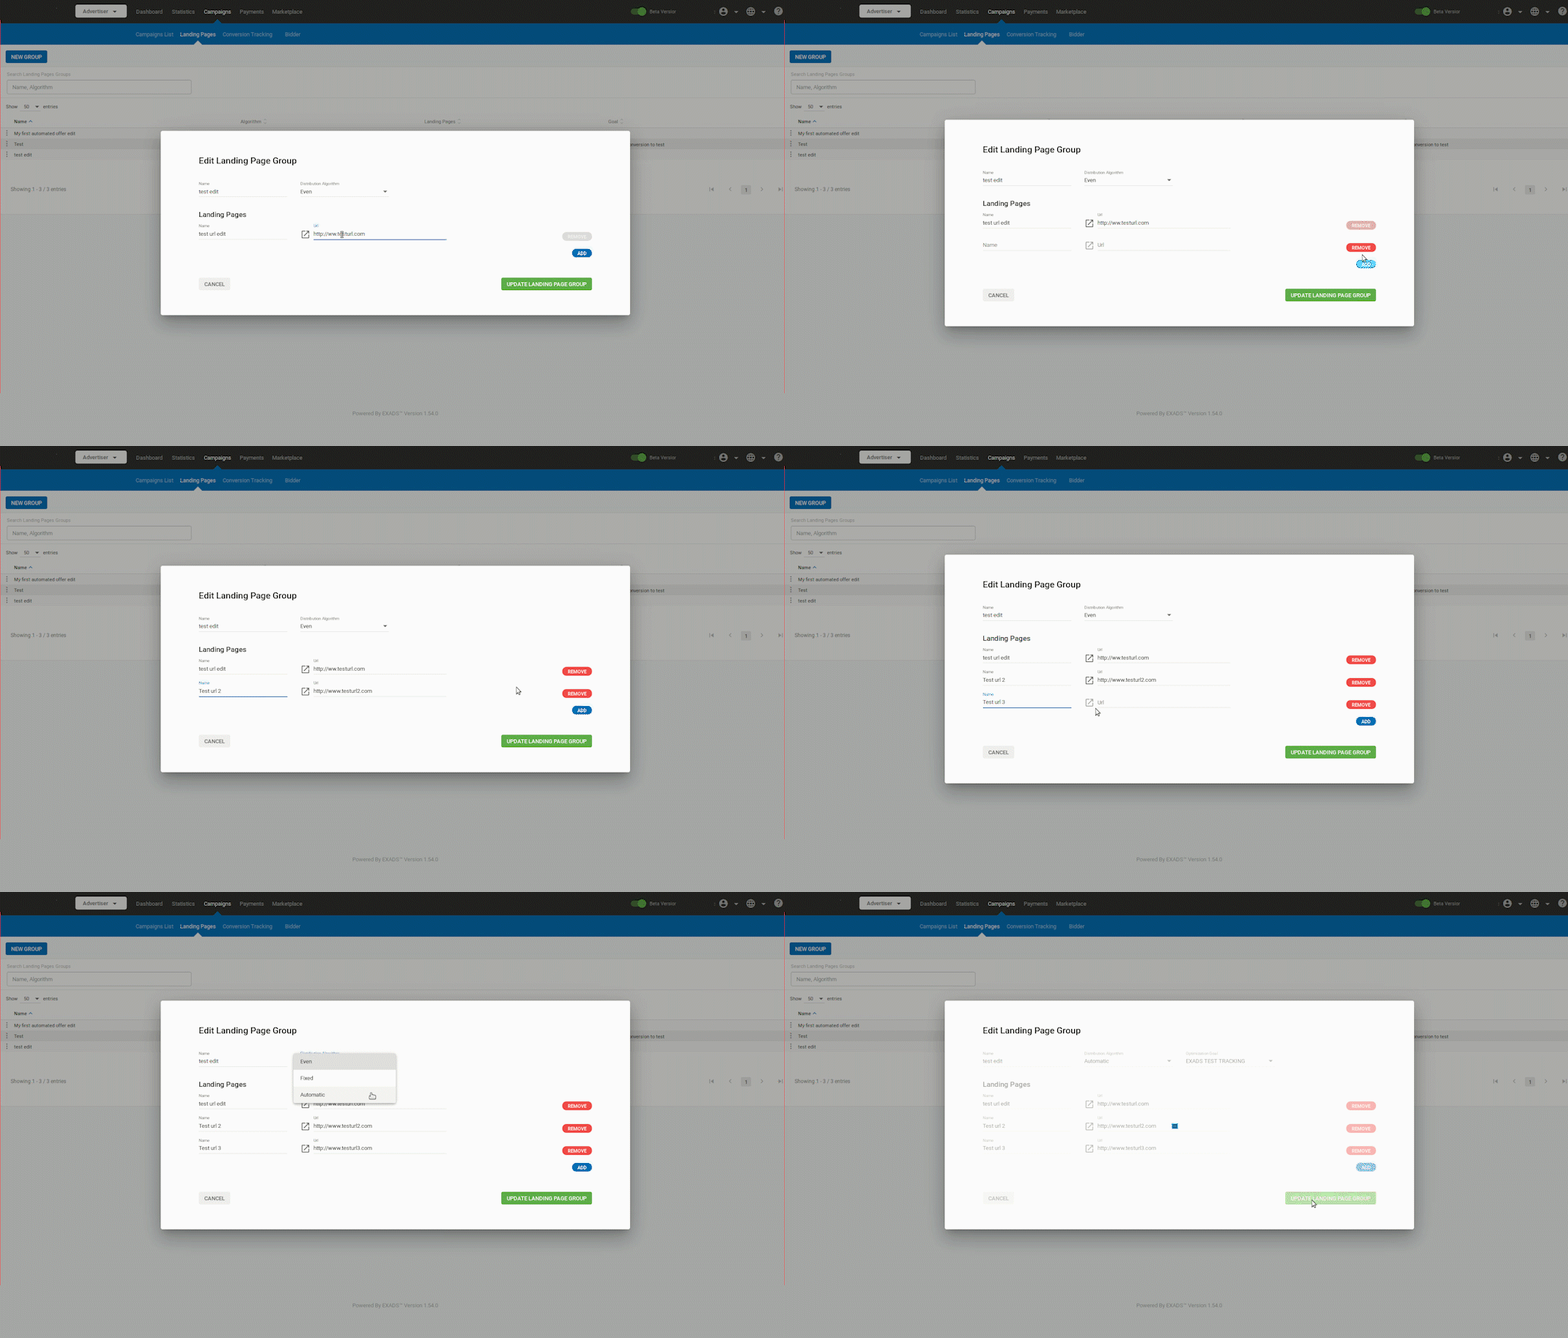
You can add as many landing pages as you like to a landing page group. Once you have finished setting up your landing page groups, you can use them in your campaigns by adding them in General Details (Step 1) of creating a campaign.
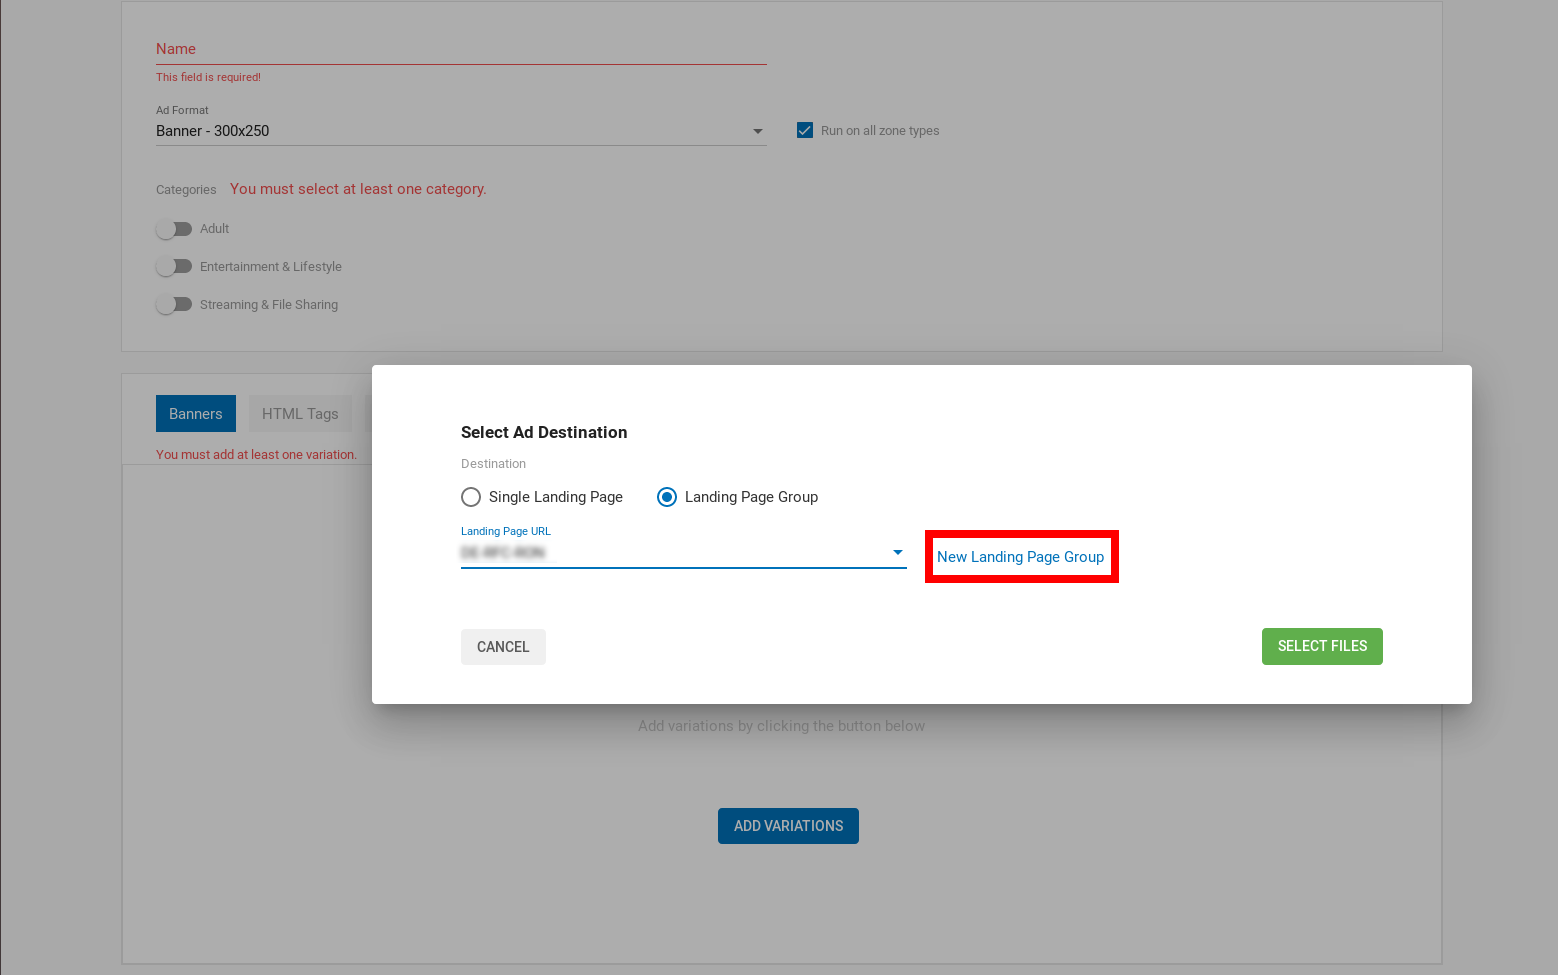 If you add this landing page group to several campaigns, the Landing Pages tab will show you its results in all your campaigns.
Copying a Landing Page Group
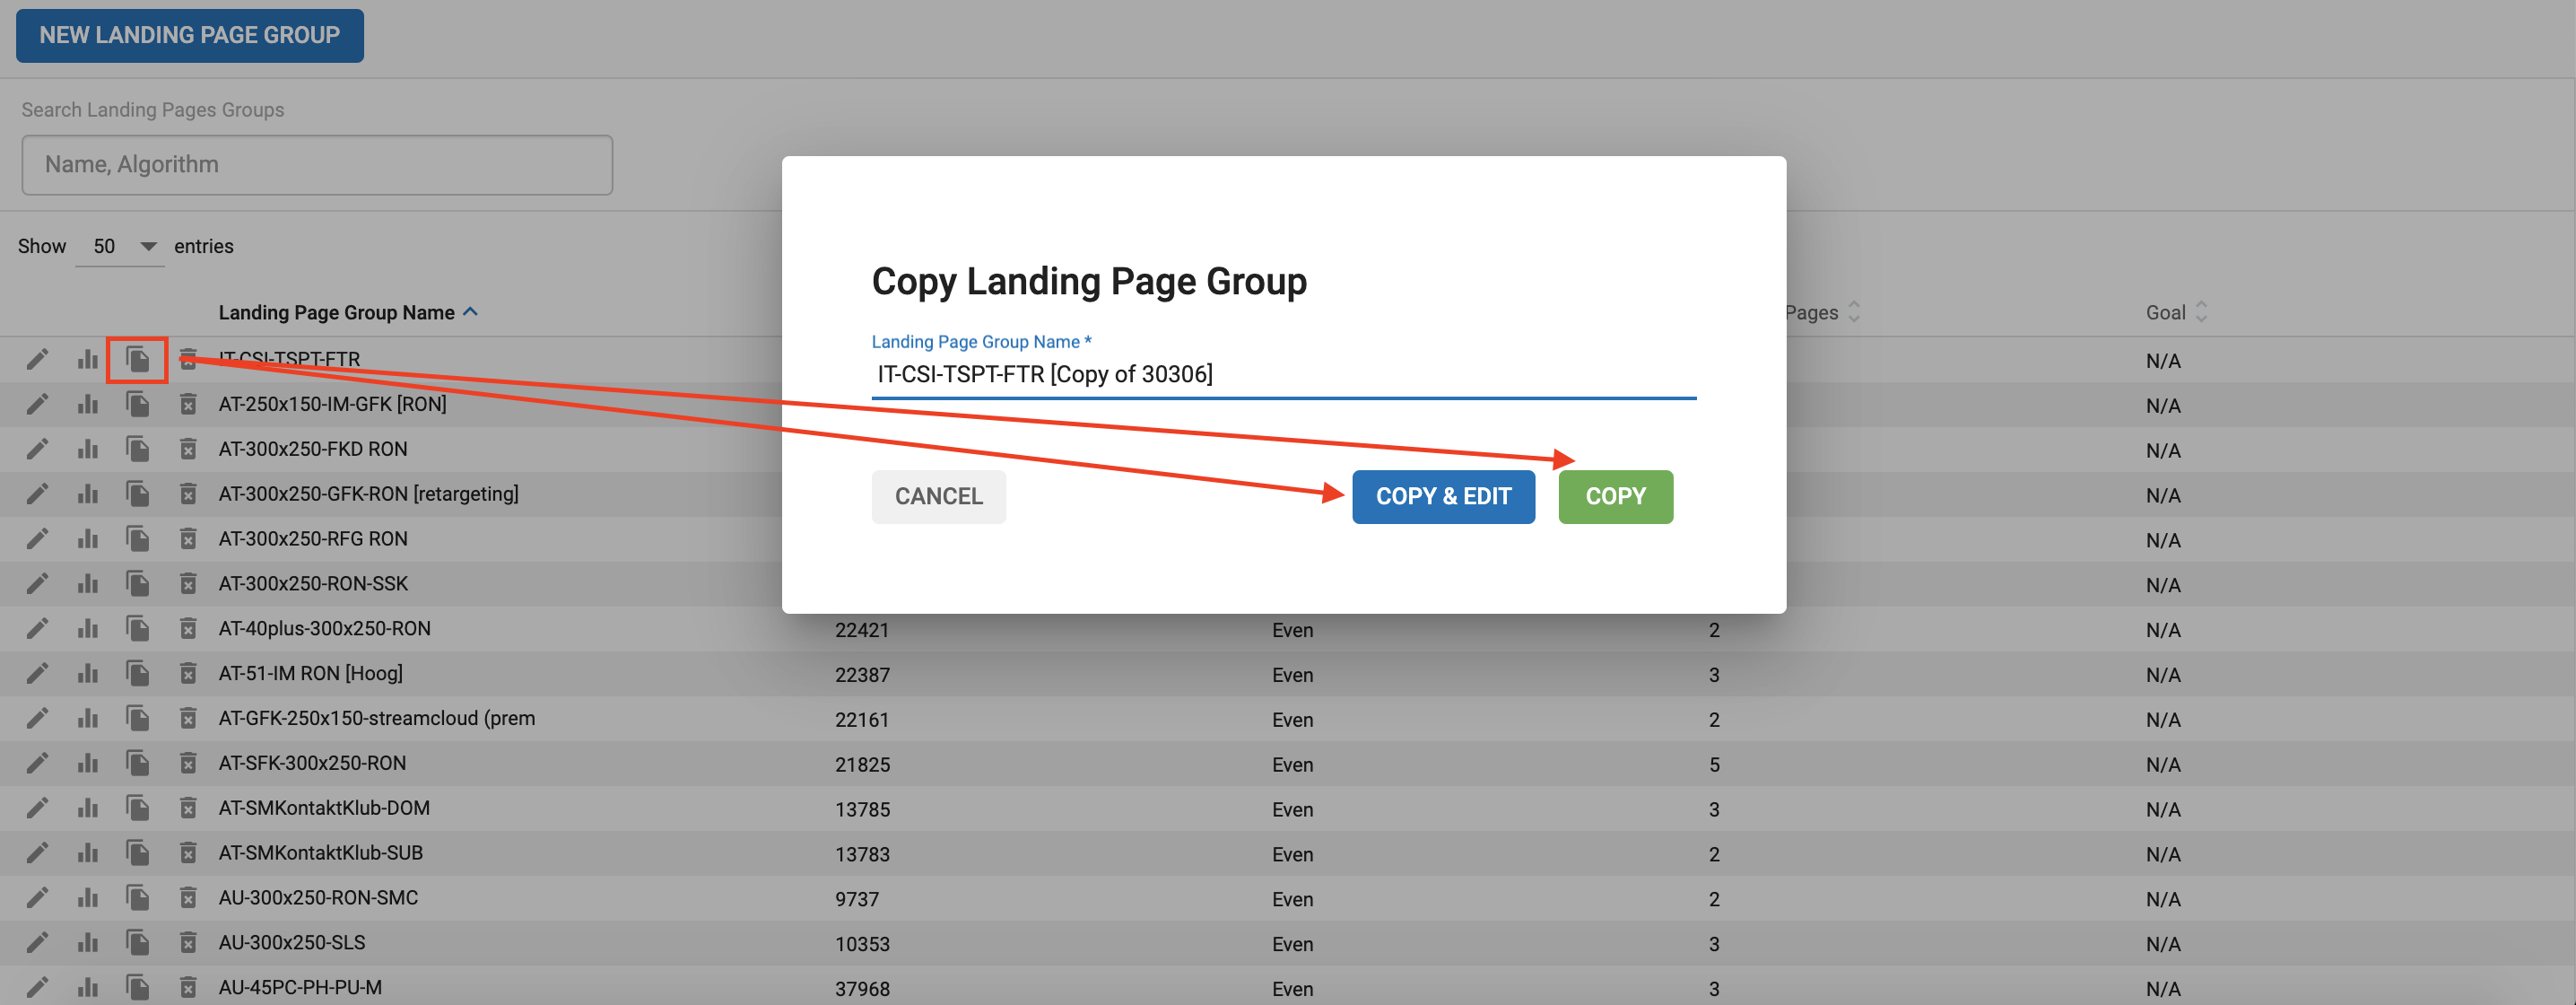
This functionality allows you to copy the selected landing page group. Clicking on the Copy icon will provide you with two options:
Copy & Edit: This option will take you to the edit form of the landing page group in case any changes need to be made before you copy it.
Copy: Will directly copy the selected landing page group as it is.
